If you want to publish your site with Web Deploy in Visual Studio or any other software that supports it please follow the instructions below:
- Login to your hosting control panel.
- Click Web Sites.
- Click the web site name you are working with.
- Click Web Publishing.
- Enter a username and password and click Enable.
- Click the text link "Download Publishing Profile for this web site" and save the file to your computer.
- Load up Visual Studio on your computer and go to your application/website or create a new one if needed.
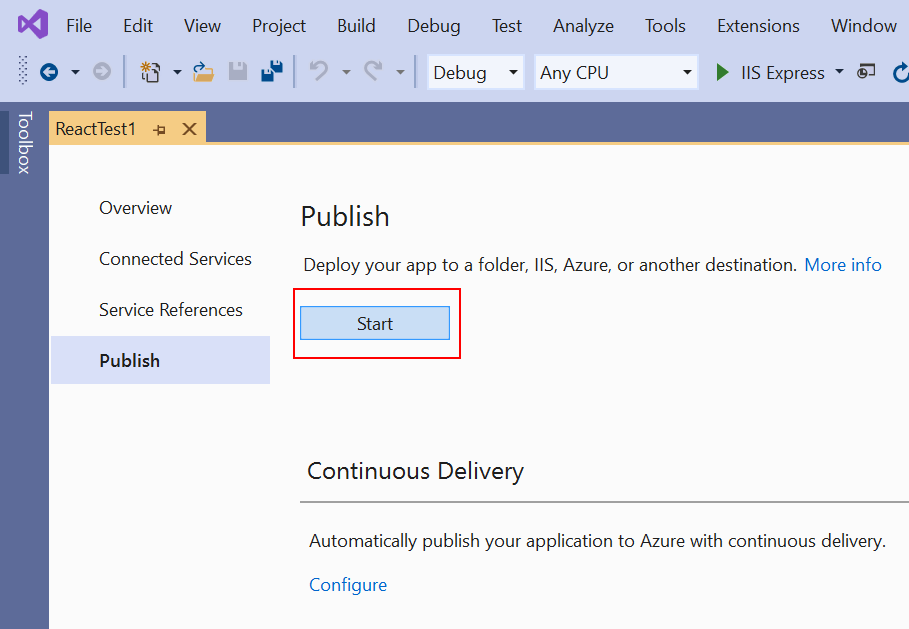
- Go to the publishing settings for the project (Build > Publish).
- Click Start
- Click to Import Profile.
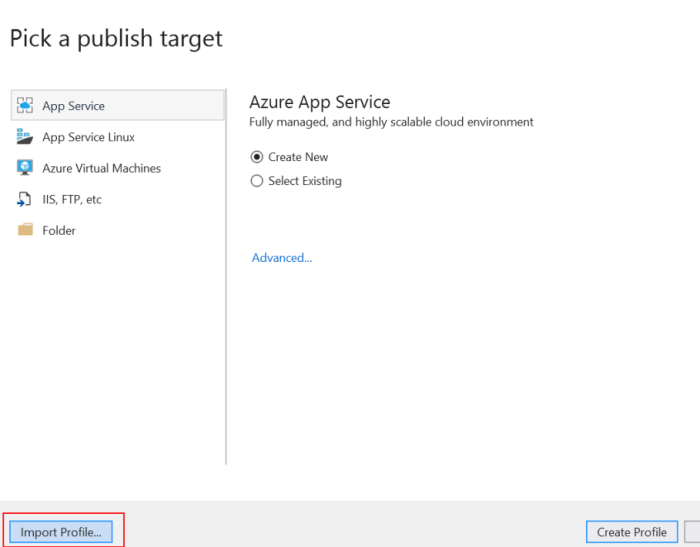
- Navigate to and select the publishing text file you downloaded above on your computer.
- Your Web Deploy publishing settings are now automatically filled in and you can publish your web site.
Troubleshooting Notes:
If your project files have not been published after Visual Studio says it was successful then the most common reason for this is you have not selected the correct publishing profile in Visual Studio before you clicked to publish.
Newer versions of Visual Studio do not automatically switch to it when you import the publishing profile. So after an import your project now has has 2 (or more) publishing profiles, you need to view the profiles and ensure the correct imported one is selected before publishing.
Go to Publish settings in your project (Right click project name in solutions explorer and click Publish).
At the top is a a dropdown with the available publishing profiles.
Click it and select the correct one. When you look at its Server tab there it will show our remote server details and not Unknown.
Now publish again and it will publish to the server correctly.
